SDRuno v1.42 has MANY features and functions on the surface and under the hood. Let’s review some of the basic user customization options available.
The 2 basic customizations that I assume you will want to adjust are the panel arrangement and the color. As I mentioned in the first post, specific panels will auto populate based on your display resolution (Page 45 of the SDRuno manual).
SDRuno panels are accessed by clicking the labeled button on the Main panel and on the RX control panel. Placing your cursor over a button will give a description.
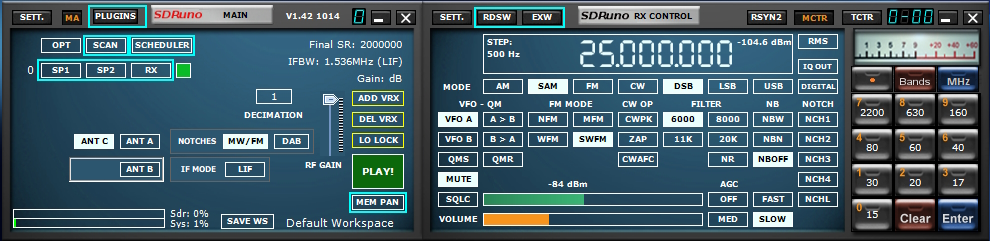
The panel buttons are
PLUGINS: Opens the Plugin panel. Fixed width and height. Page 36 of the SDRuno manual.
SCAN: Opens the Scanner panel. Fixed width and height. Page 22 of the SDRuno manual.
SCHEDULER: Opens the Scheduler and Recorder panel. Resizable. Page 24 of the SDRuno manual.
SP1: Opens the Main SP panel. Resizable. Page 21 of the SDRuno manual.
SP2: Opens the Aux SP panel. Resizable. Page 34 of the SDRuno manual.
RX: Opens the RX Control panel. Fixed width and height. Page 16 of the SDRuno manual.
MEM PAN: Opens the Memory panel. Resizable. Page 33 of the SDRuno manual.
RDSW: Opens the RDS decoder panel. Resizable. Page 35 of the SDRuno manual.
EXW: Opens the EX Control panel (my personal favourite) Fixed width and height. Page 23 of the SDRuno manual.
ARRANGING PANELS AND SAVING YOUR WORKSPACE
SDRuno allows you to store and recall up to 10 panel arrangements. These are called “Workspaces”. Workspace 0 is the default workspace that loads and displays each time SDRuno is launched.
Note: Certain panels are resizable and some are at a fixed width and height. These are noted above.
Workspace 0 is the default workspace when SDRuno is launched. Other workspace can be selected after SDRuno is launched.
I will edit and save Workspace 1 for this example.
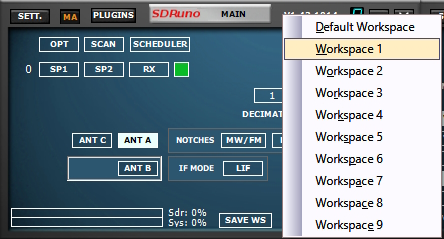
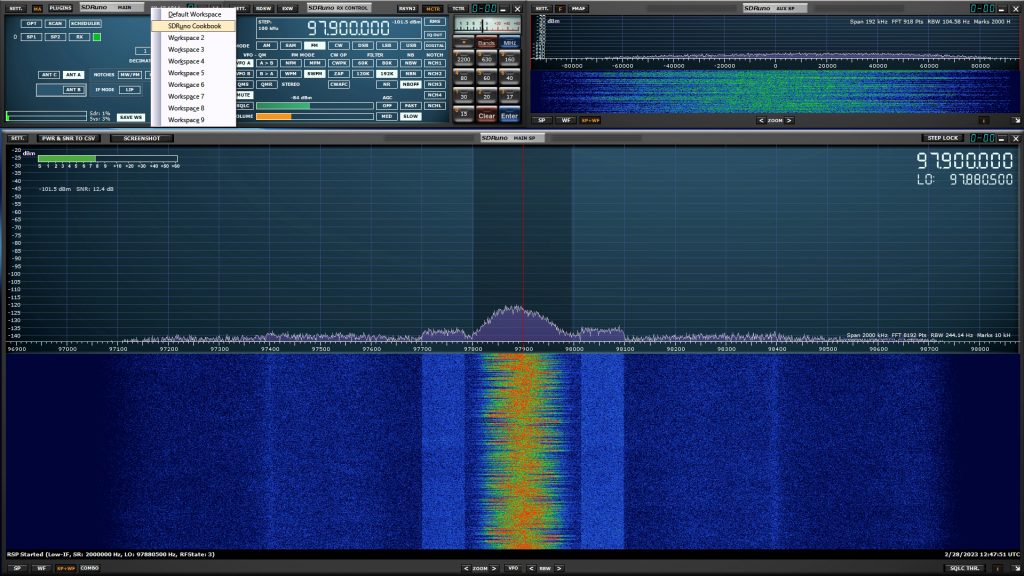
#1 Select Workspace 1 from the Main panel by Left clicking the Default workspace name on the main panel. select Workspace 1.
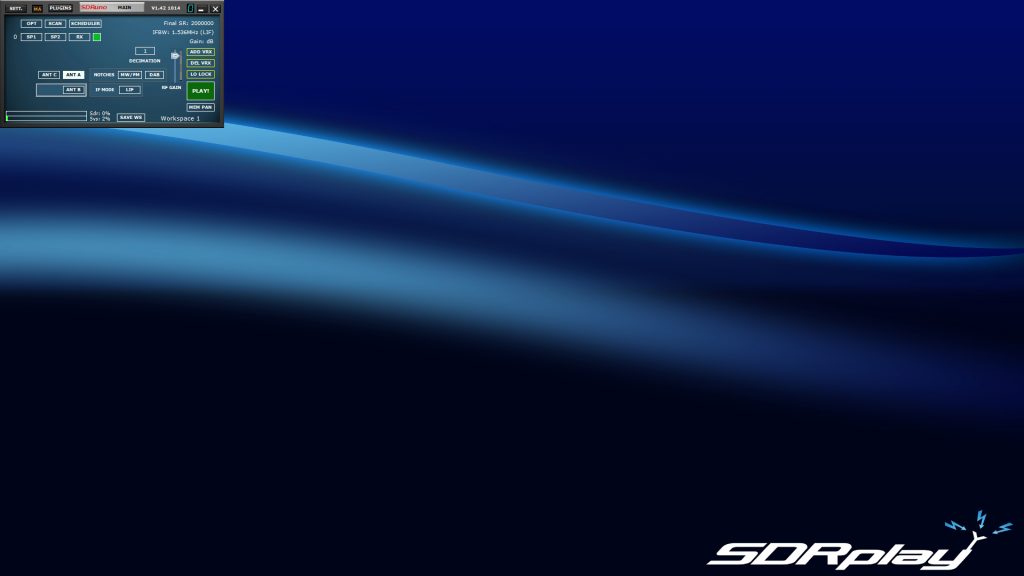
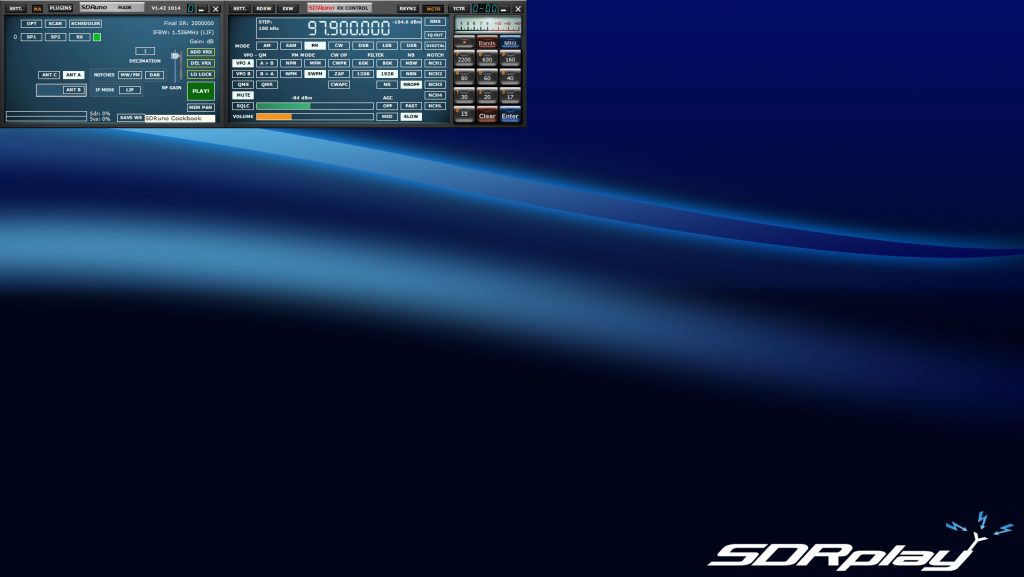
#2 Only the Main panel will appear.
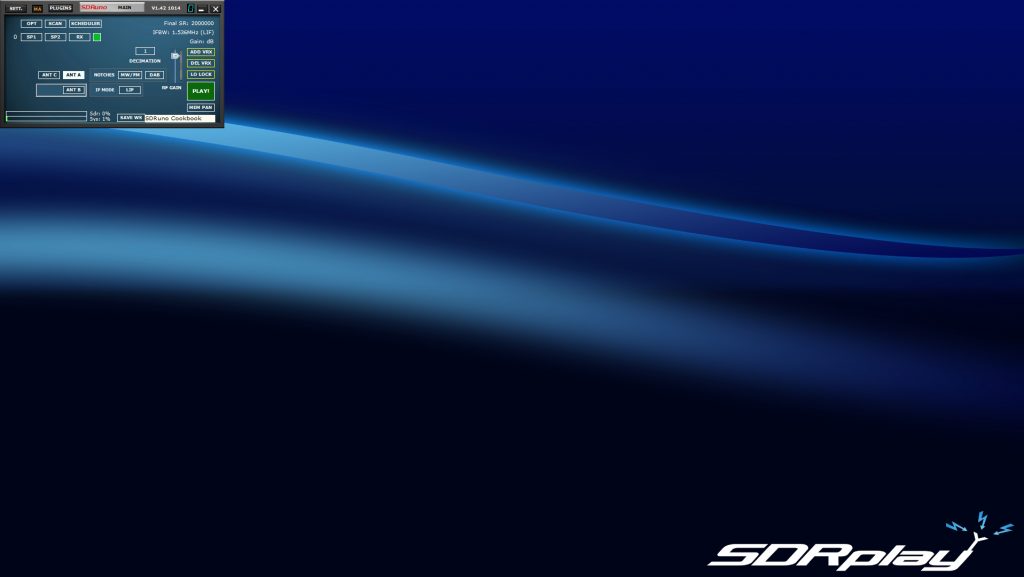
#3 Right click the word Workspace 1 on the Main panel and give the workspace a meaningful name.
#4 Click the RX button on the Main panel to add the RX control panel.
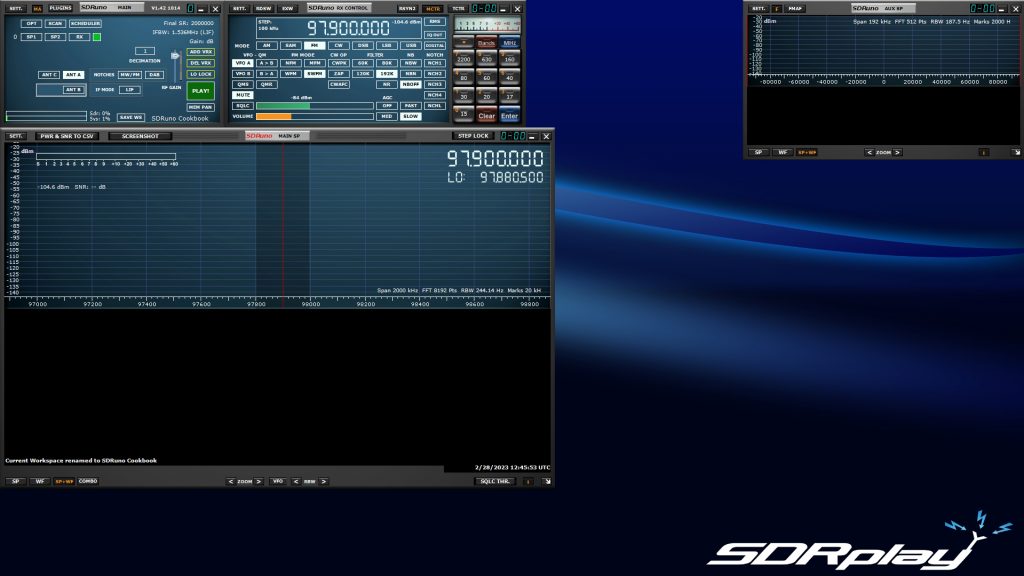
#5 Click the SP1 & SP2 buttons on the Main panel.
#6 Resize the Main SP and Aux panels by left click and holding on the lower right edge of the Main SP and Aux SP.
Click the SAVE WS (Save workspace) button on the Main panel to save your workspace.
Left click the workspace name you provided in step #3.
Your workspace is now created, saved and available for selection in SDRuno.
To a select workspace. Click the workspace name on the Main panel. (Page 46 of the SDRuno manual.)
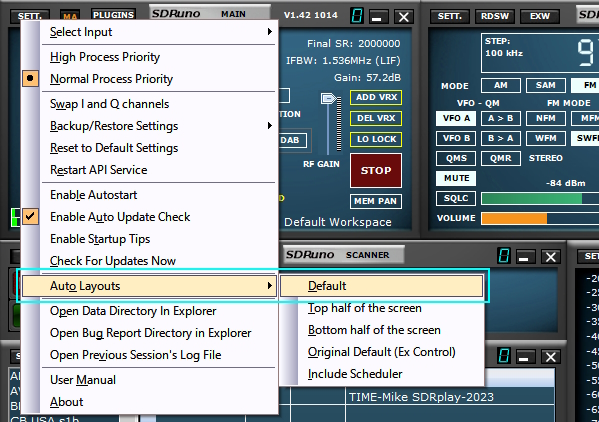
If you make a mistake, you can always revert to the default layout based on your monitor resolution. Click the Main panel options buttons (OPT, top left) and selecting Auto Layouts and then Default. This will allow you to start over.
COLOR IN SDRUNO

You have 2 color options that can be changed in SDRuno, the background color of the Main SP and the Aux SP and the color palette applied to the waterfall of the MAIN SP and AUX SP. Let’s customize both.
MAIN SP & AUX SP Background customization:
Click on the RX control panel settings (SETT.)
Click the right arrow icon and navigate to the MISC tab.
Select a VRX background color from the dropdown list.
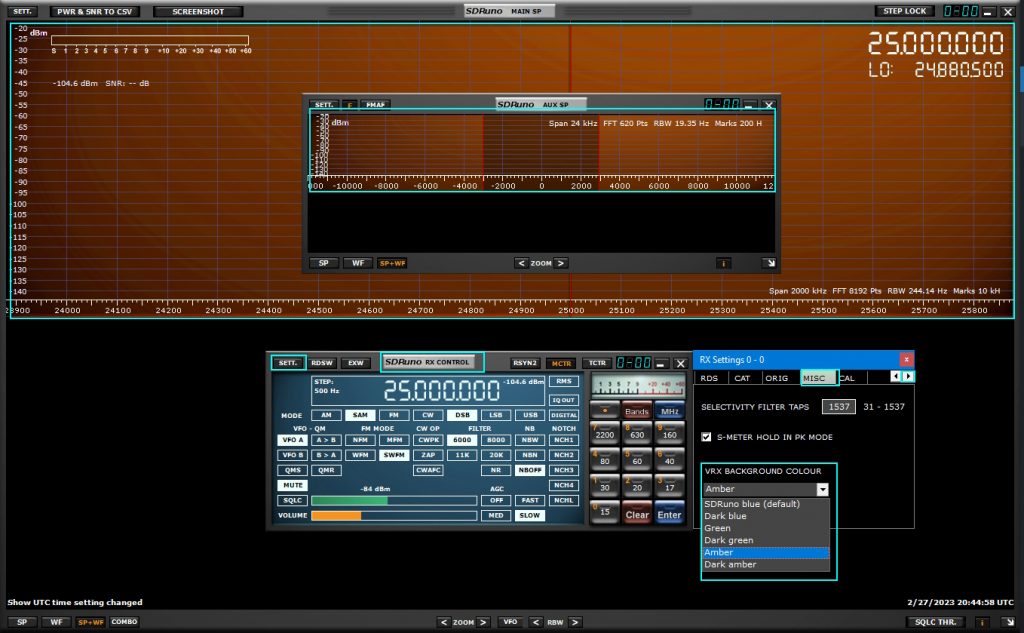
I’ve selected AMBER and you will see both backgrounds have changed to this color. (Page 20 of the SDRuno manual)
MAIN SP & AUX SP waterfall customization:
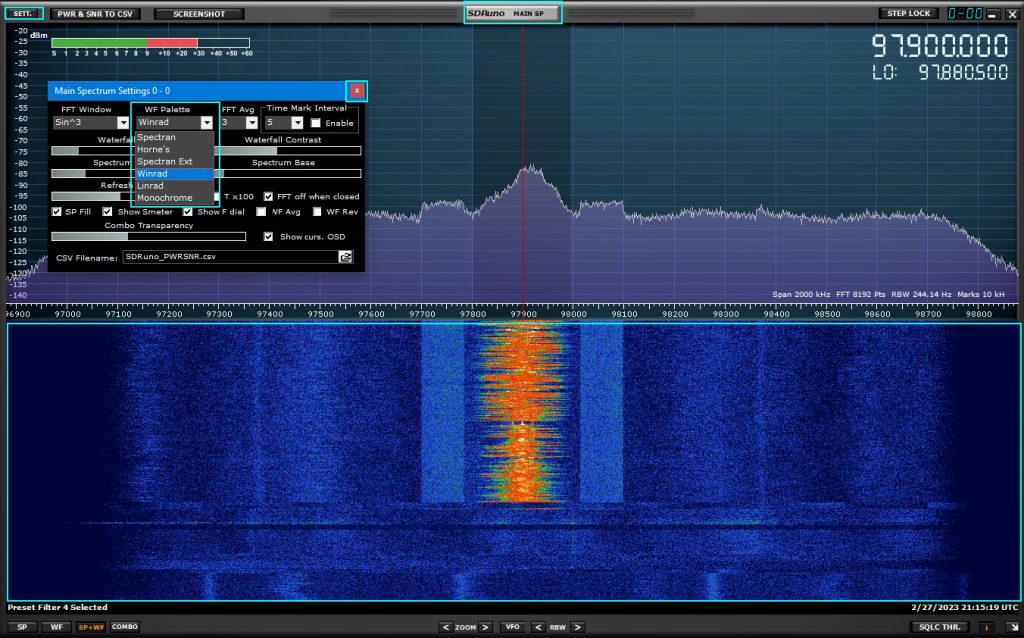
The Main SP pallette option is available by clicking the MAIN SP Sett. button and selecting a pallette from the WF Pallette dropdown.
(Page 22 of the SDRuno manual)
I’ve selected Winrad..
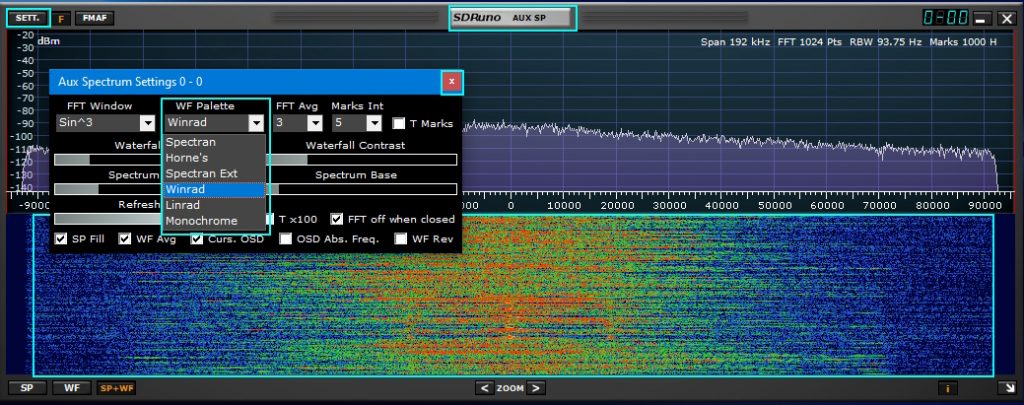
The Aux SP pallette option is available by clicking the Aux SP Sett. button and selecting a pallette from the WF Pallette dropdown.
(Page 34 of the SDRuno manual)
I’ve selected Winrad.